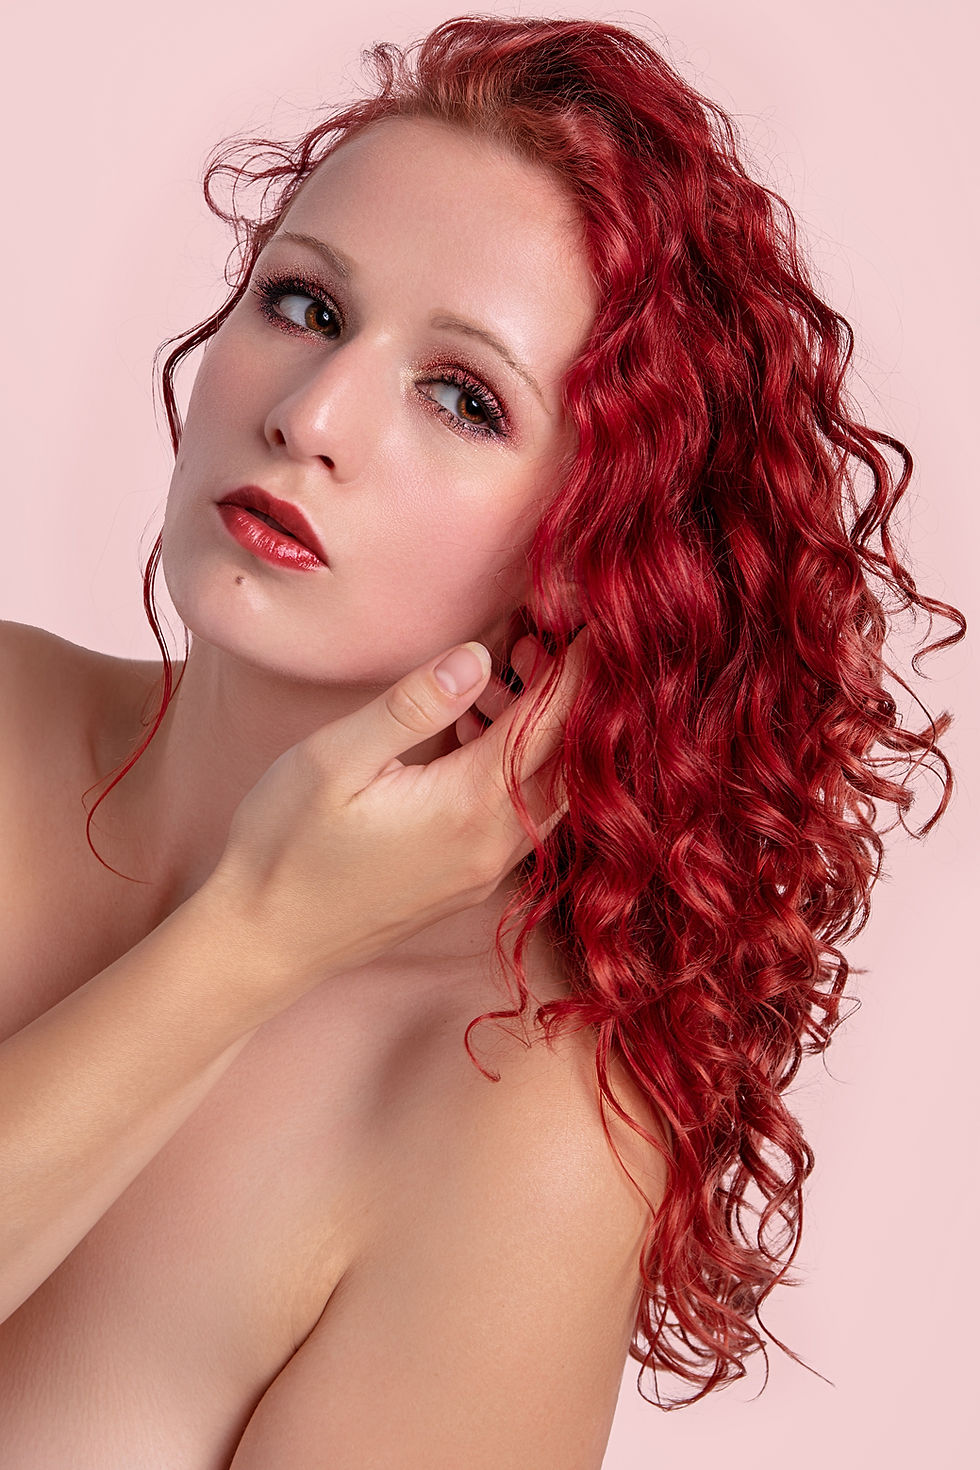
7 Product Application Techniques Every Curly Should Know
- Nov 10, 2025
- 2 min read
When it comes to curls, how you apply your products can make or break your results. The right technique can boost hydration, enhance definition, and minimize frizz.

Here’s a breakdown of 7 common techniques to try — and when to use them in your routine:
1. Prayer Method
Smooth product over the hair by pressing your hands together like you’re praying. This technique helps you seal product into the hair shaft without disrupting curl clumps.
Best for: Low to medium-density curls, waves, or anyone sensitive to heavy-handed application.
Pro tip: Use more hand pressure for tighter curl patterns.
2. Finger Combing
Gently rake your fingers through the hair to distribute product. It’s a light-touch technique that won’t over-manipulate your curls.
Best for: Detangling, refreshing, or applying light leave-in products.
Use when: You want even distribution without breaking up too much curl formation.
3. Raking
This is a frizz-busting method that also helps with curl clumping. After detangling, rake your fingers through the hair with firm tension, squeezing your fingers together as you move from roots to ends. Add water if needed.
Best for: Humid weather, high-frizz curls, or anyone struggling with product buildup or uneven definition.
Pro tip: Repeat each section 8–10 times to create long-lasting definition.
4. Gliding
Pretend your fingers are glued together and gently glide product down the length of the hair. This distributes product evenly without creating too much disruption.
Best for: Fine, loose curls or waves that need lightweight hydration and frizz control.
Use when: You’re layering in leave-ins or stylers and want to preserve clumps.
5. Scrunch-Squeeze
Cup sections of curls in your hands and pump them upward toward the scalp — like squeezing a stress ball. This technique enhances curl rotation and brings curls to life after applying product.
Best for: Boosting curl spring, shape, and volume.
Use when: You want your curls to bounce up post-styling.
6. Roping
Grip a curl clump at the root and slowly squeeze downward toward the ends — like milking a cow or descending a rope. This helps remove excess moisture without losing clump integrity.
Best for: Length retention, less shrinkage, and encouraging larger curl clumps.
Use when: You want to keep your length visible and reduce “halo” frizz.
7. Rake and Shake
Use raking to distribute product, then hold the ends of your curls between your fingers and shake them back and forth to help curls “set” and clump together naturally.
Best for: Enhancing curl formation and bounce, especially in loose curls or waves.
Use when: You want more structure in curl clumps without frizz.
Final Thought:
You can use just one of these — or combine them together, depending on what your hair needs that day. As always: more water, more patience, and more experimenting lead to better results.


Comments